

The Light
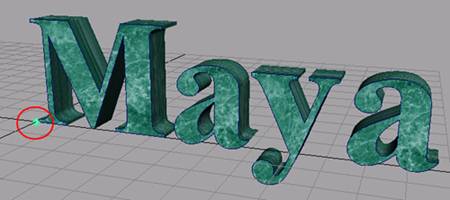
If you now press [7] on your keyboard, you will see what the renderer would see if you rendered the scene now. As you can see, your text turned completely black. This is because you have no lights in your scene. So now we'll add a light so that we'll not be completely left in the dark.
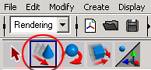
1. Choose Create -> Lights -> Point Light. This should create a green "star" at the bottom-left of the first letter of your text.
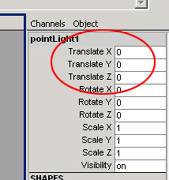
>2. Now at the right of your screen, you should see the name of the light (pointLight1) and several text fields. In the Translate Z field, type in 25, to move the light away from the text (At least if you have followed the values in this tutorial). This should also move the light out of the scene, but that is no problem as long as you don't click in the viewport and deselect it. In Translate Y type 10, and in Translate X type 5.
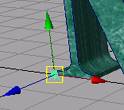
This should move the light so that it lights the scene pretty well. Another way to move the light is to use the Move Tool, which is located on the second toolbar. When you select this tool, handles should appear around the light. You can use these handles to move the light with restriction to one axis, or you can click the actual light, to move the light freely around.
We are now almost finished with this tutorial. What remains is to render the scene.
| The Material |

