

The Rendering
Now we are finally ready to render the text.
Use the methods described earlier to zoom and rotate the viewport so that you are happy with how you view your text.
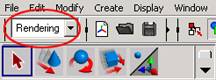
1.Move from Modelling mode to Rendering mode using the pulldown menu under File and choose Rendering.
2.Now choose Render -> Render into new Window
This should render the text using the default rendervalues stated in the render globals. You probably see the text in a small window, with very rough edges. To fix this you need to modify the render options.
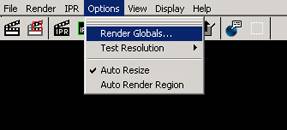
1. Press Options -> Render Globals from the Render View.
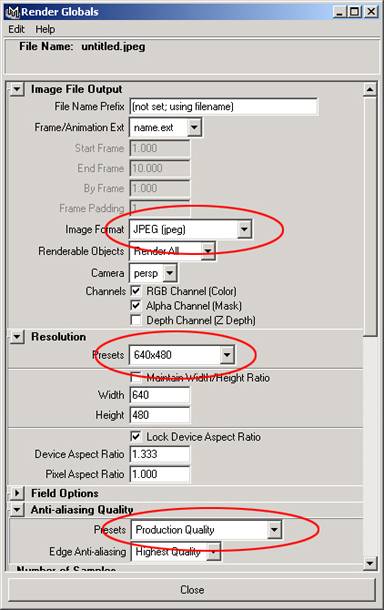
2. Choose and Image Format that suits your needs. JPEG should be compatible with most image-viewers out ther. Expand the Resolution tab, and choose a preset you like. 640X480 should do fine for this example. Now expand the Anti-aliasing Quality and choose the Production Quality preset, then close the Render Globals window.
If you render the scene again by pressing Render -> Redo Previous Render, you should see the text in a better resolution and with anti-aliased edges.
You might want to save this image, so choose File -> Save Image from the Render View. Name the file and put it in a location of your desire.
To finish of, you might want to save your scene First close the Render View, and then choose File -> Save Scene As , name your scene and press Save.
This concludes this tutorial, which should have given you a little more insight into how to use Maya. Maya has several other powerful modelling features, animation features special effects and much more. Maya is quite difficult to understand at first, but when you get used to it, it's like a walk in the park.
You can download the entire scene as created here:
| The Light |

